You can add a photo to an Household record in Membership. This will allow you to print photo directories, and to have an at-a-glance record to help you tie names and faces together. It's a great feature for larger congregations, and to get to know new members.
To add a photo to a Household record, in the Membership module, go to the Households grid.
- Select the Household in question and either double-click, or click the Edit button at the bottom of the grid to open the record for editing.
- Once in the Household record, you have two choices to get to the Photo Manager in the top section with the overview of the Household's details.
- You can either click the camera icon in the list of icons toward the right side of the record.
- Or you can click in the big box to the right of that icon, which is where the image will display once you've added it.
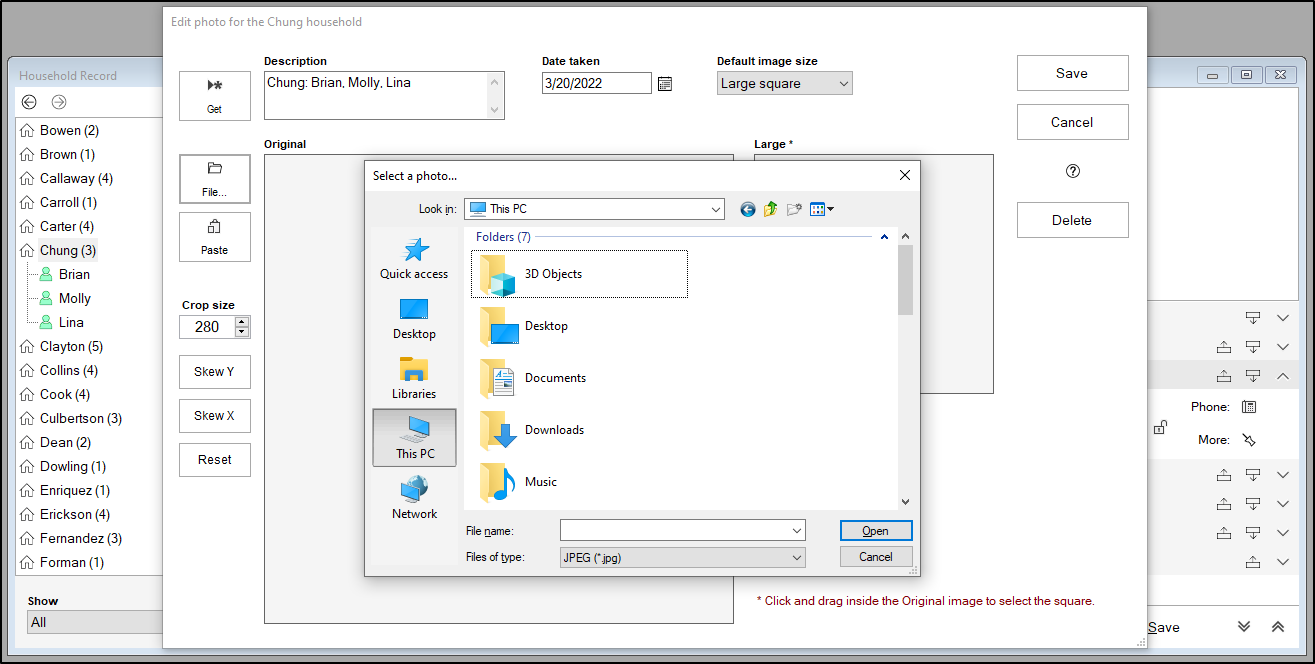
- Either of those options will bring up the "Edit Photo" box.
- The "Get" button will pull a description from the record you were in when you clicked to open the box. This will likely already be filled in by default.
- The "File" button is where you will click to browse to the location of the image file you want to add, or if you have copied it, you can use the paste button.
- Once the image is there you can click and drag in the box marked "Original" and/or crop it using the options on the left until it is centered and looks right in the "Large" and "Small" boxes.
- Click Cancel if you change your mind or Save to save your changes.
- The Delete button is available to remove an image as needed.
