The events view is where you can add events to the Scheduler module. We will walk through, step-by-step how to add a single event to your Events view, or edit an existing event
- On the Events view, click the "Add" button at the bottom of the view, or if you need to edit an existing event, in the Events view, find the event you need to make changes to, click on it to highlight it, and click "Edit" at the bottom of the grid.
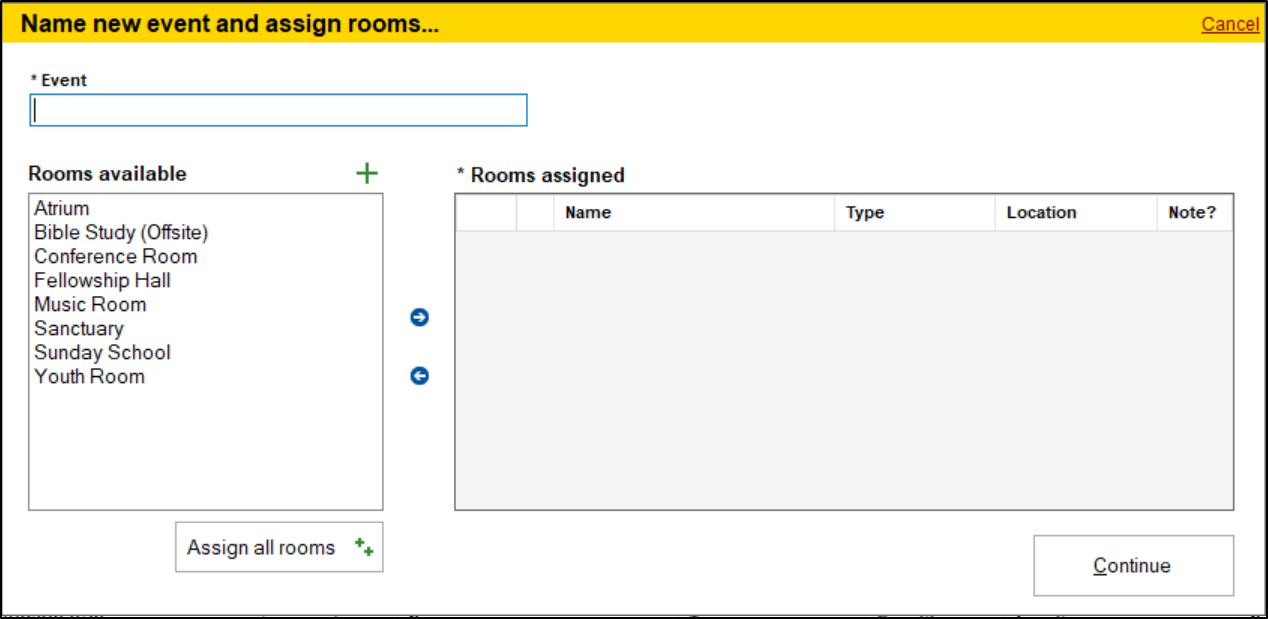
- In the next window, in the Event field, name the event, and then select which room(s) will be used for this event. You can double click on a room to add it to the list of Rooms assigned, or click on it once and then click the blue right arrow button to move it in to the selected rooms. To remove it from the rooms assigned list, highlight the room in the rooms assigned list, and then click the left arrow button. To designate that all rooms will be used for this event, click the "Assign all rooms" button. Click continue when finished.
- If the room(s) have contacts or inventory assigned you will be asked if you'd like to use them for this event.
- Next, you can set the Date, and beginning and ending times for this event. To assist you, when you set your date, you will see all other events happening on that date. If you attempt to add an event in the same room, at the same date and time as another event (or if the times overlap), when you attempt to save the event record, you will receive a warning, and you will not be able to save the event until you change the date or time.
- Next, fill in what type of event it is in the "Type of event" field, and also the "Expected Attendance", if you know what you are expecting the attendance to be at this event.
- You can add additional rooms, contacts and inventory in the "Rooms available, "Contacts available" and "Inventory available" fields. Click the green plus sign if you need to create a new Room, Event, or Contact.
- If you want to make this a repeating event, check the "Set this event as repeating after save" option.
- Click Save to save the event record.