Throughout the Scheduler module, you may want to add a photo of an inventory item, a room, or even a contact. The process for adding these photos remains the same throughout the Scheduler module, and can be repeated for inventory items, rooms and contacts.
- When adding or editing a record, if a photo can be added to it, there will be a blank spot where a photo can go, and next to it, a camera button. Click the camera button to open the window where you can add a photo.
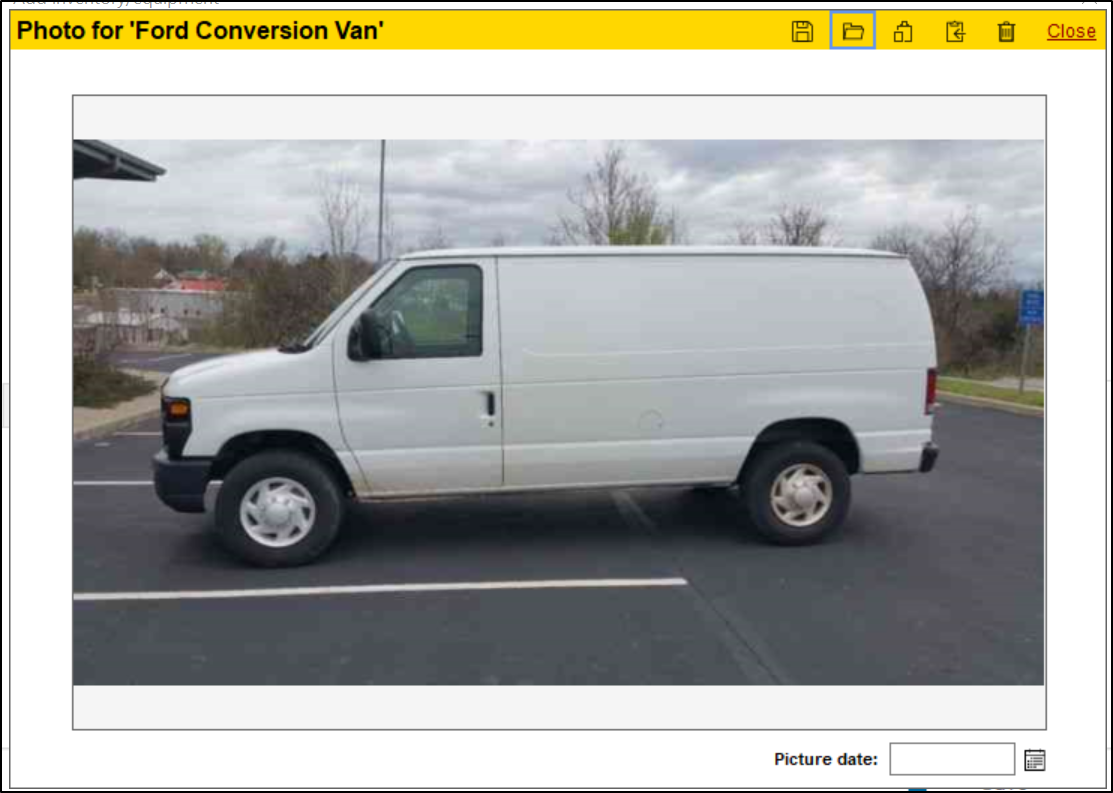
- In the window that appears, there are a few different ways you can add a photo. In the top left corner of the page, you'll see an icon that looks like an open folder. Click this icon to search for a photo on your computer. Once you've found the photo, double click the photo, and it will be added.
- If you've copied a photo to the windows clipboard, you can also click the button that looks like a clipboard with a square next to it to paste that photo into this record.
- Click the clipboard with an arrow on it to copy the photo you already have saved in this window.
- Click the trash can icon to delete the photo from this record
- At the bottom right corner of the window, you can fill in the date the photo was taken on in the "Picture Date" field
- Click the Save icon at the top of the window to save the photo to the record.